DIY Travel Blog Website for $1/Month: Step-by-Step Guide
I just moved to Europe to work for 2 years, so I decided to visit all the countries in Europe and record my journeys with blogs. My friends and family always ask me about my ex perience during the trips, and I thought a travel blog website would be easy to share with them.
I wanted to create a travel blog website with an affordable price so that I wouldn’t shut it down because of the billing. The price can actually go down to less than $1 per month. This is the website that I built within one day
Not a coder. Not a designer. Just someone with a suitcase, a story, and $1 to spare
I just moved to Europe to work for 2 years, so I decided to visit all the countries in Europe and record my journeys with blogs. My friends and family always ask me about my experience during the trips, and I thought a travel blog website would be easy to share with them.
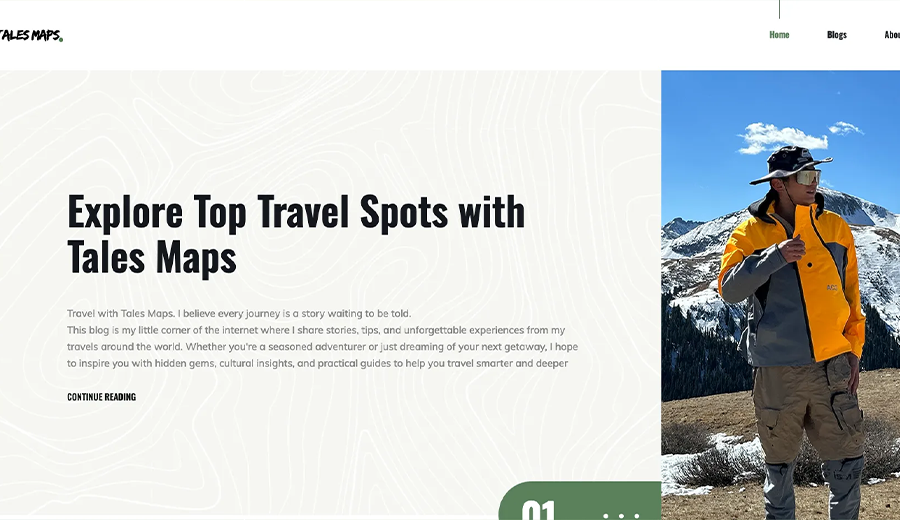
I wanted to create a travel blog website with an affordable price so that I wouldn’t shut it down because of the billing. The price can actually go down to less than $1 per month. Here’s the website I built within one day: talesmaps.com
- The total cost $1 = website template $0 + domain name $0.5/month + AWS Cost $0.5/month
Details:
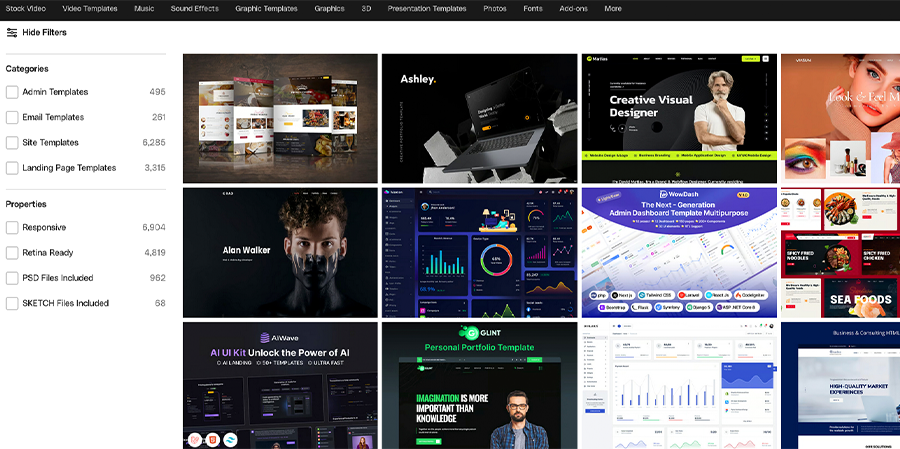
1. Find a website template (Free)
There are so many places where you can find website templates. Just search “website template download”. Some are paid, and some are not paid. You’ll download a folder that contains html files. It already has a loading screen, animation, mobile layout, and consistent theme. It takes 1 second to download then you’ve finished 90% of the job.
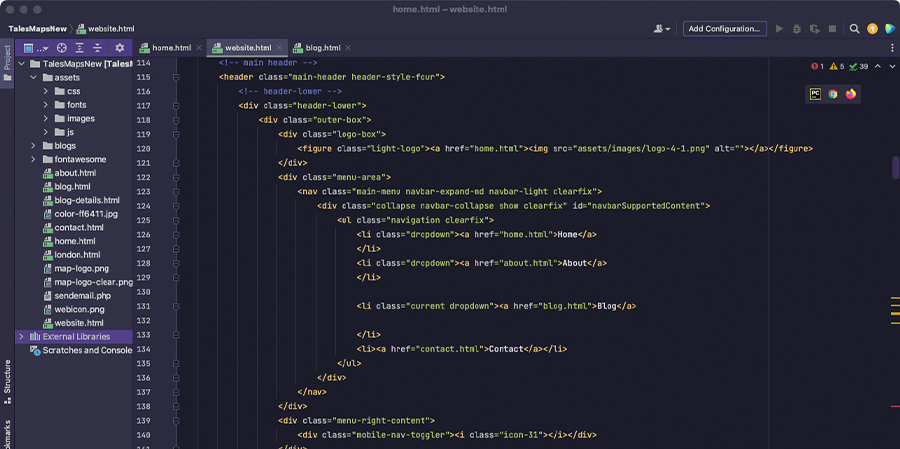
2. Edit the template (Free)
Please do not back down when you see it, imagine you need to code. I wasn’t sure if I could do this until I opened my first HTML file. Editing HTML files is absolutely not coding. It’s so easy just like you’re editing your PPT. You just need to replace the template text with your own text. Also, AI is extremely good at this kind of code. Try AI.
Find a free text editor, e.g. Pycharm CE. Open the index.html file and open it in your browser, which just looks like a live website already. When you change the text, you can see the changes directly on your browser. Also, you can delete some parts that you don’t need. Just find the text from that part. Then look for the same text in your HTML files and delete. If you want to change the styles or color, go to the CSS files. You only need to edit HTML and CSS files.
For the images, it’s better to use the same size as the templates, so that you can just replace the original images without any extra work. Also, you might think the higher resolution the better, but it actually makes the website slower to load. I usually just use PS to open the template images and replace them with my images.
You can insert all your social media links there. Don’t need to use Linktree anymore. You can put anything you want on your website. After all this, you’ve finished 99% of the job
3. Host the Website ($1/month)
This might sound scary too because you need to use AWS. I was scared too and I had no idea about this process when I was building my first website. Because I spent so much time creating my website, I was so worried that I couldn’t publish it. It turns out to be very easy. Here’s the high-level process:
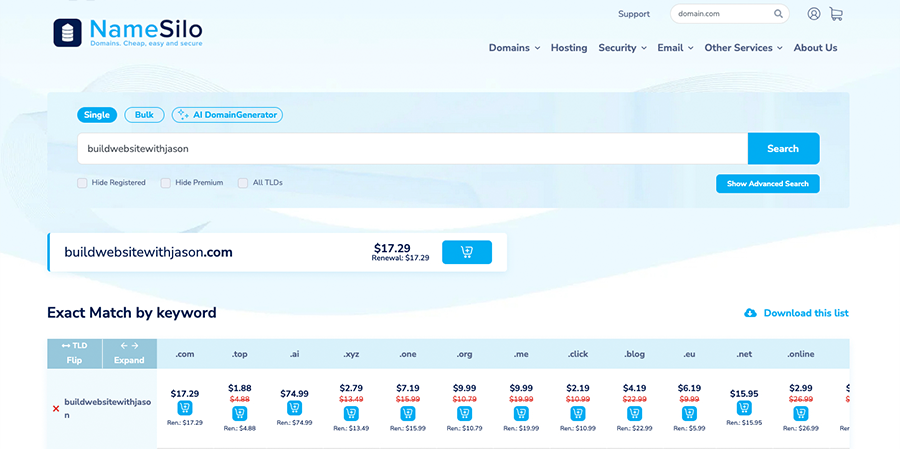
Buy a domain name
I use namesilo, but you can use other ones as well. The .com domain name is $17.29 per year. And the cheapest domain name .top is only $4.88 per year. I prefer to you .com, which makes me feel it’s more formal, but it doesn’t really matter.-
Upload your files to AWS S3
The bucket name should be the exact same name as your domain name. I use my website for this demo. You need to use your own domain name.
Create two public buckets. One for talesmaps.com. The other is for www.talesmaps.com. Only upload your files to talesmaps.com and redirect www.talesmaps.com to this bucket. If you need to edit or add new content, just replace or upload new files.
Uncheck public access. Enable the bucket for static hosting. Add policy rules and an index document. Create a hosted zone on AWS Route 53
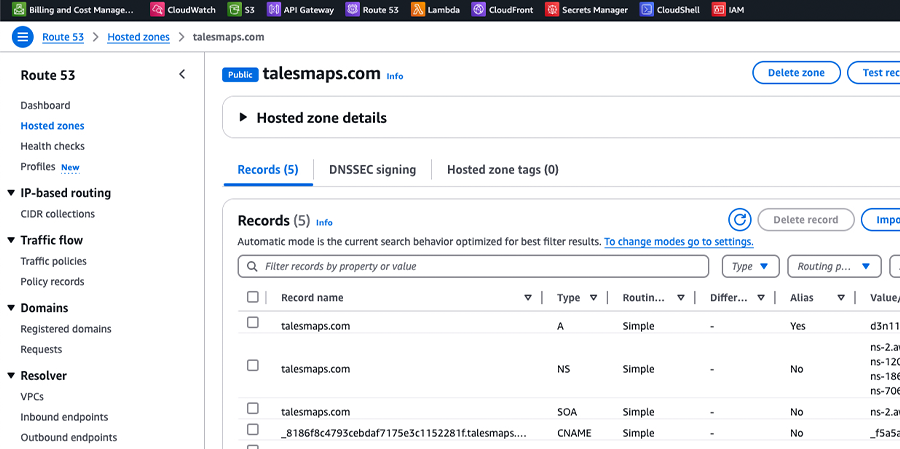
Create a hosted zone and the domain name is talesmaps.com
Now you can see 4 strange URLs under the type NS. Copy and add all of them to your namesilo account. Please remember. DO NOT COPY the dot/period sign after it. It’s very confusing. If you copy the DOT, it won’t work.
Create a record. Turn on the alias button and choose your S3 bucket as your endpoint.
Now your website is live on the internet.-
Create AWS CloudFront host for https
This is the last but the key step. Many places require your website to have https. It’s better to add this and protect your website. It’s easy as well.
Go to your S3 bucket and copy your bucket website endpoint URL. Go to AWS CloudFront create a new distribution, and paste the URL in the origin domain. In the Viewer Protocol Policy, choose redirect HTTP to HTTPS
Request a new certificate. Add domain name talesmap.com and *.talesmaps.com. After you create a new certificate, click Create Record in Route 53. Go back to CloudFront add your CNAME talesmaps.com and attach the new certificate that you just created. Then create a distribution. Create another distribution for www.talesmaps.com and use the same certificate.
Go back to CloudFront add your CNAME talesmaps.com and attach the new certificate that you just created. Then create a distribution. Create another distribution for www.talesmaps.com and use the same certificate.
Go to Route 53. Edit the record under Type A. Change route traffic from your S3 bucket to Cloudfront. Edit both talesmaps.com and www.talesmaps.com
Now you’re 100% done.
4. Add Google Analytics
If you’d like to track your website visitors. You can use Google Analytics and it’s very easy, just copy a piece of code and add it to your HTML files.

Summary
Overall, the total cost is about $1 per month if you don’t have too many visitors. I only spent one day building this website: talesmaps.com.
For me, I just want to record everything and I can easily share my website with my family and friends to show them my experiences and what I see during my trips. This is a very affordable price for most of us. It is really not complicated at all as long as you try it.
Editing HTML files took most of my time, not because of the code. Because I had to find pictures and add my own text, which you have to do with any website builder. The AWS part only took about 30 min. There are many steps on AWS but you don’t need to write any code.
Let me know if you have any questions. If there's enough interest, I can create a video tutorial on how to build your own travel blog website for $1 per month.